Film testing really is one of the burdens of analog photography. I would much rather be out making photographs. However, I also dislike not being able to try out different types of emulsions, considering the large amount of time and money needed to test each new emulsion. I detested testing film so much that initially, I just followed the manufacturers' recommendations, developing all my negatives by hand in tanks or trays. Manual development, though, is not for the faint of heart. It is tedious and for the most part, must be performed in complete darkness. That said, I had great success with tray and tank development. It works beautifully and can produce very repeatable results, but efficiency is not its strong point.
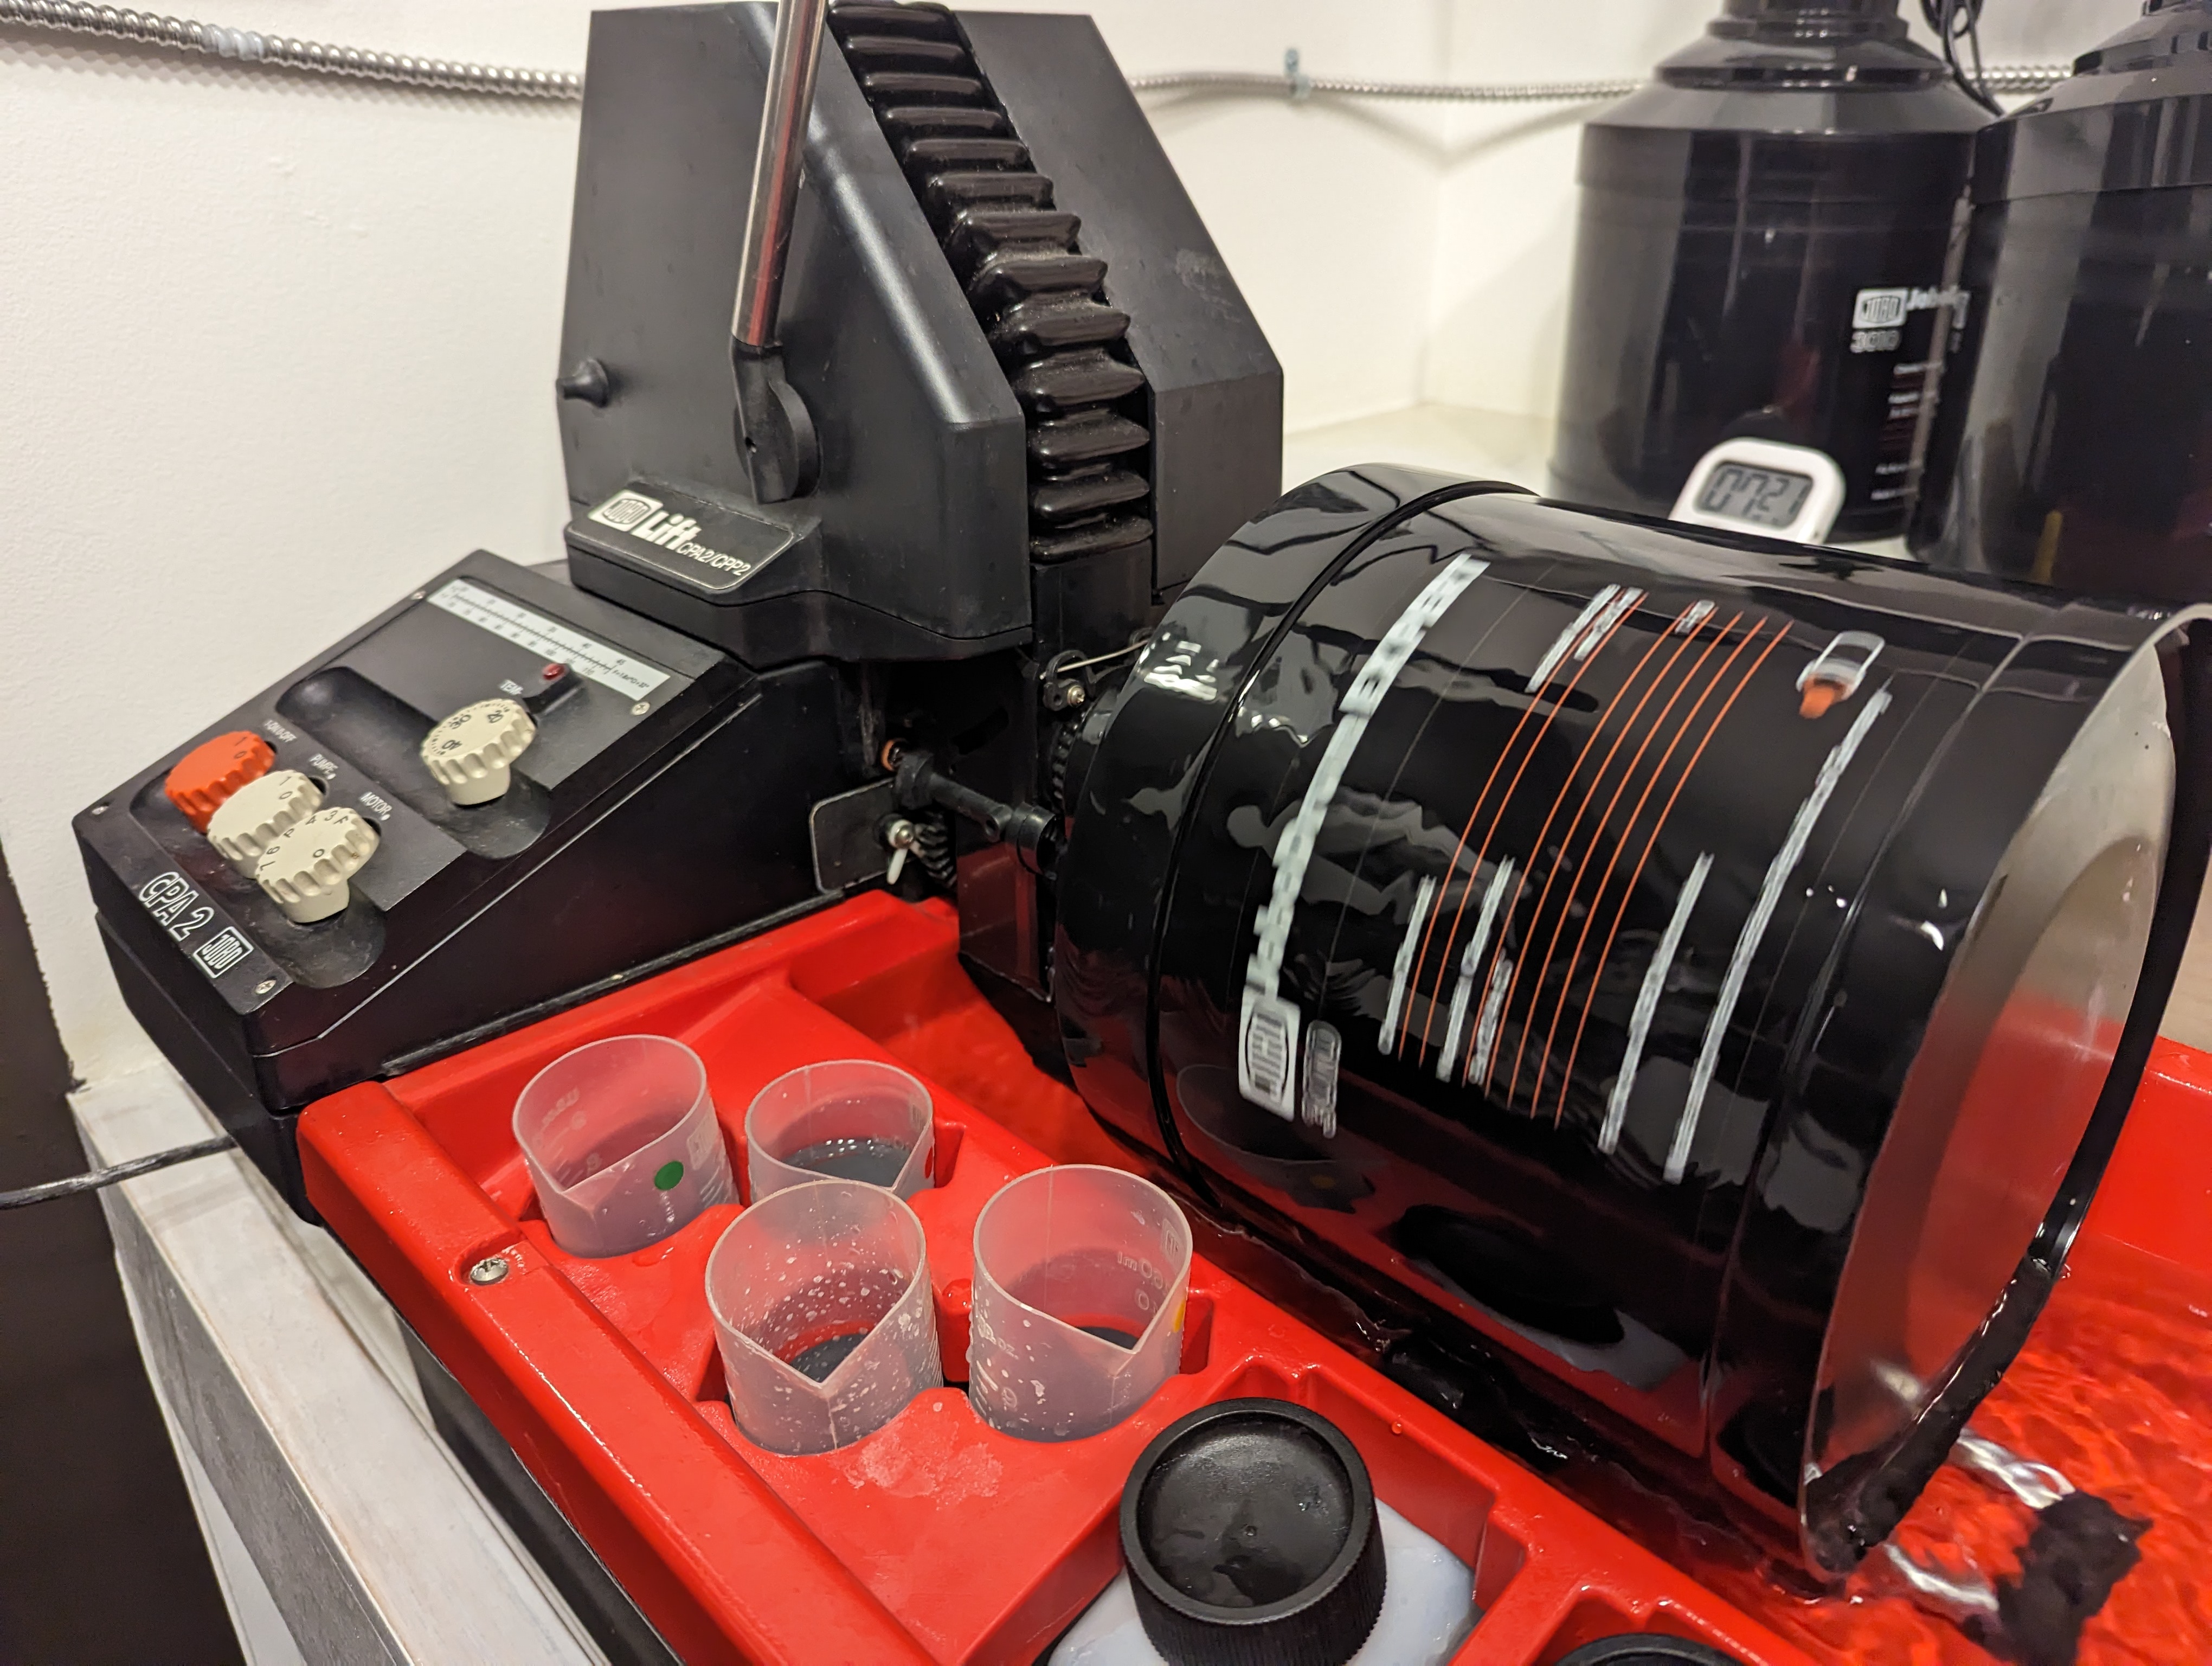
I have switched to rotary processing, first with a Unicolor drum and automatic roller base, then to a Jobo CPA2 with expert drums. Both offer consistent performance and allow for lights-on, hands-free operation. I made the move to rotary processing for two reasons. First, Murphy's Law seems to be ever present in all aspects of photography, from the field to the darkroom. Rotary processing keeps Murphy's Law from creeping into the process and ruining a good negative. Second, N+3 in a tray is very boring.
Note: Published rotary processing times are not very accurate. Temperature accuracy and stability are even more critical, considering the shorter development cycles and increased agitation.
The densitometer is a tool used to measure the density of both film and paper. These instruments were commonly used by photo labs, but with the switch to digital, these labs no longer have a use for their machines. They are easily found on the used market. They have relatively few moving parts and replacement bulbs are still available for most units. I use an X-rite 820. The densitometer allows you to measure film density very accurately, eliminating the time-consuming step of testing on black and white paper. With the aid of a densitometer, it is possible to use just three sheets of film to determine times for N, N+1, N+2, N+3, N-1, and N-2. As a side note, when using this method, Effective Film Speed or EFS is just an estimate. You should conduct in-camera testing to determine the EFS for each emulsion.
The following spreadsheet is based on the method explained by Gerry Russell in ViewCamera Jan/Feb 2001. This is also similar to Phil Davis' method, http://btzs.org/.
My data for Delta 100, TMAX 400, and HP5 in Xtol 1:1 is available (Don't use my numbers, they will probably not work for you).
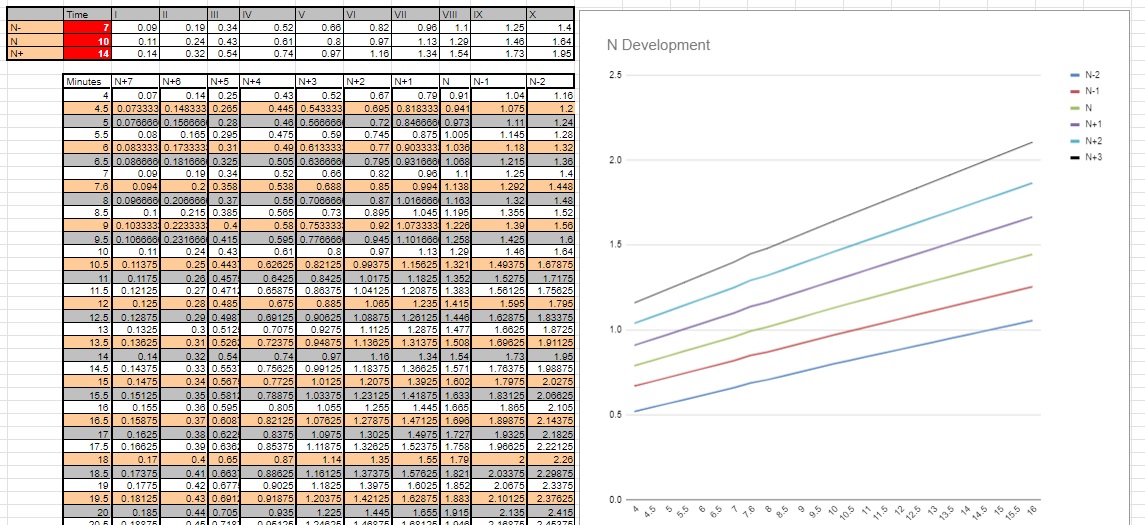
Film Development Testing - willwilson.com Google Sheets version.
You need to make a copy to your own drive in order to edit this Google Sheet.
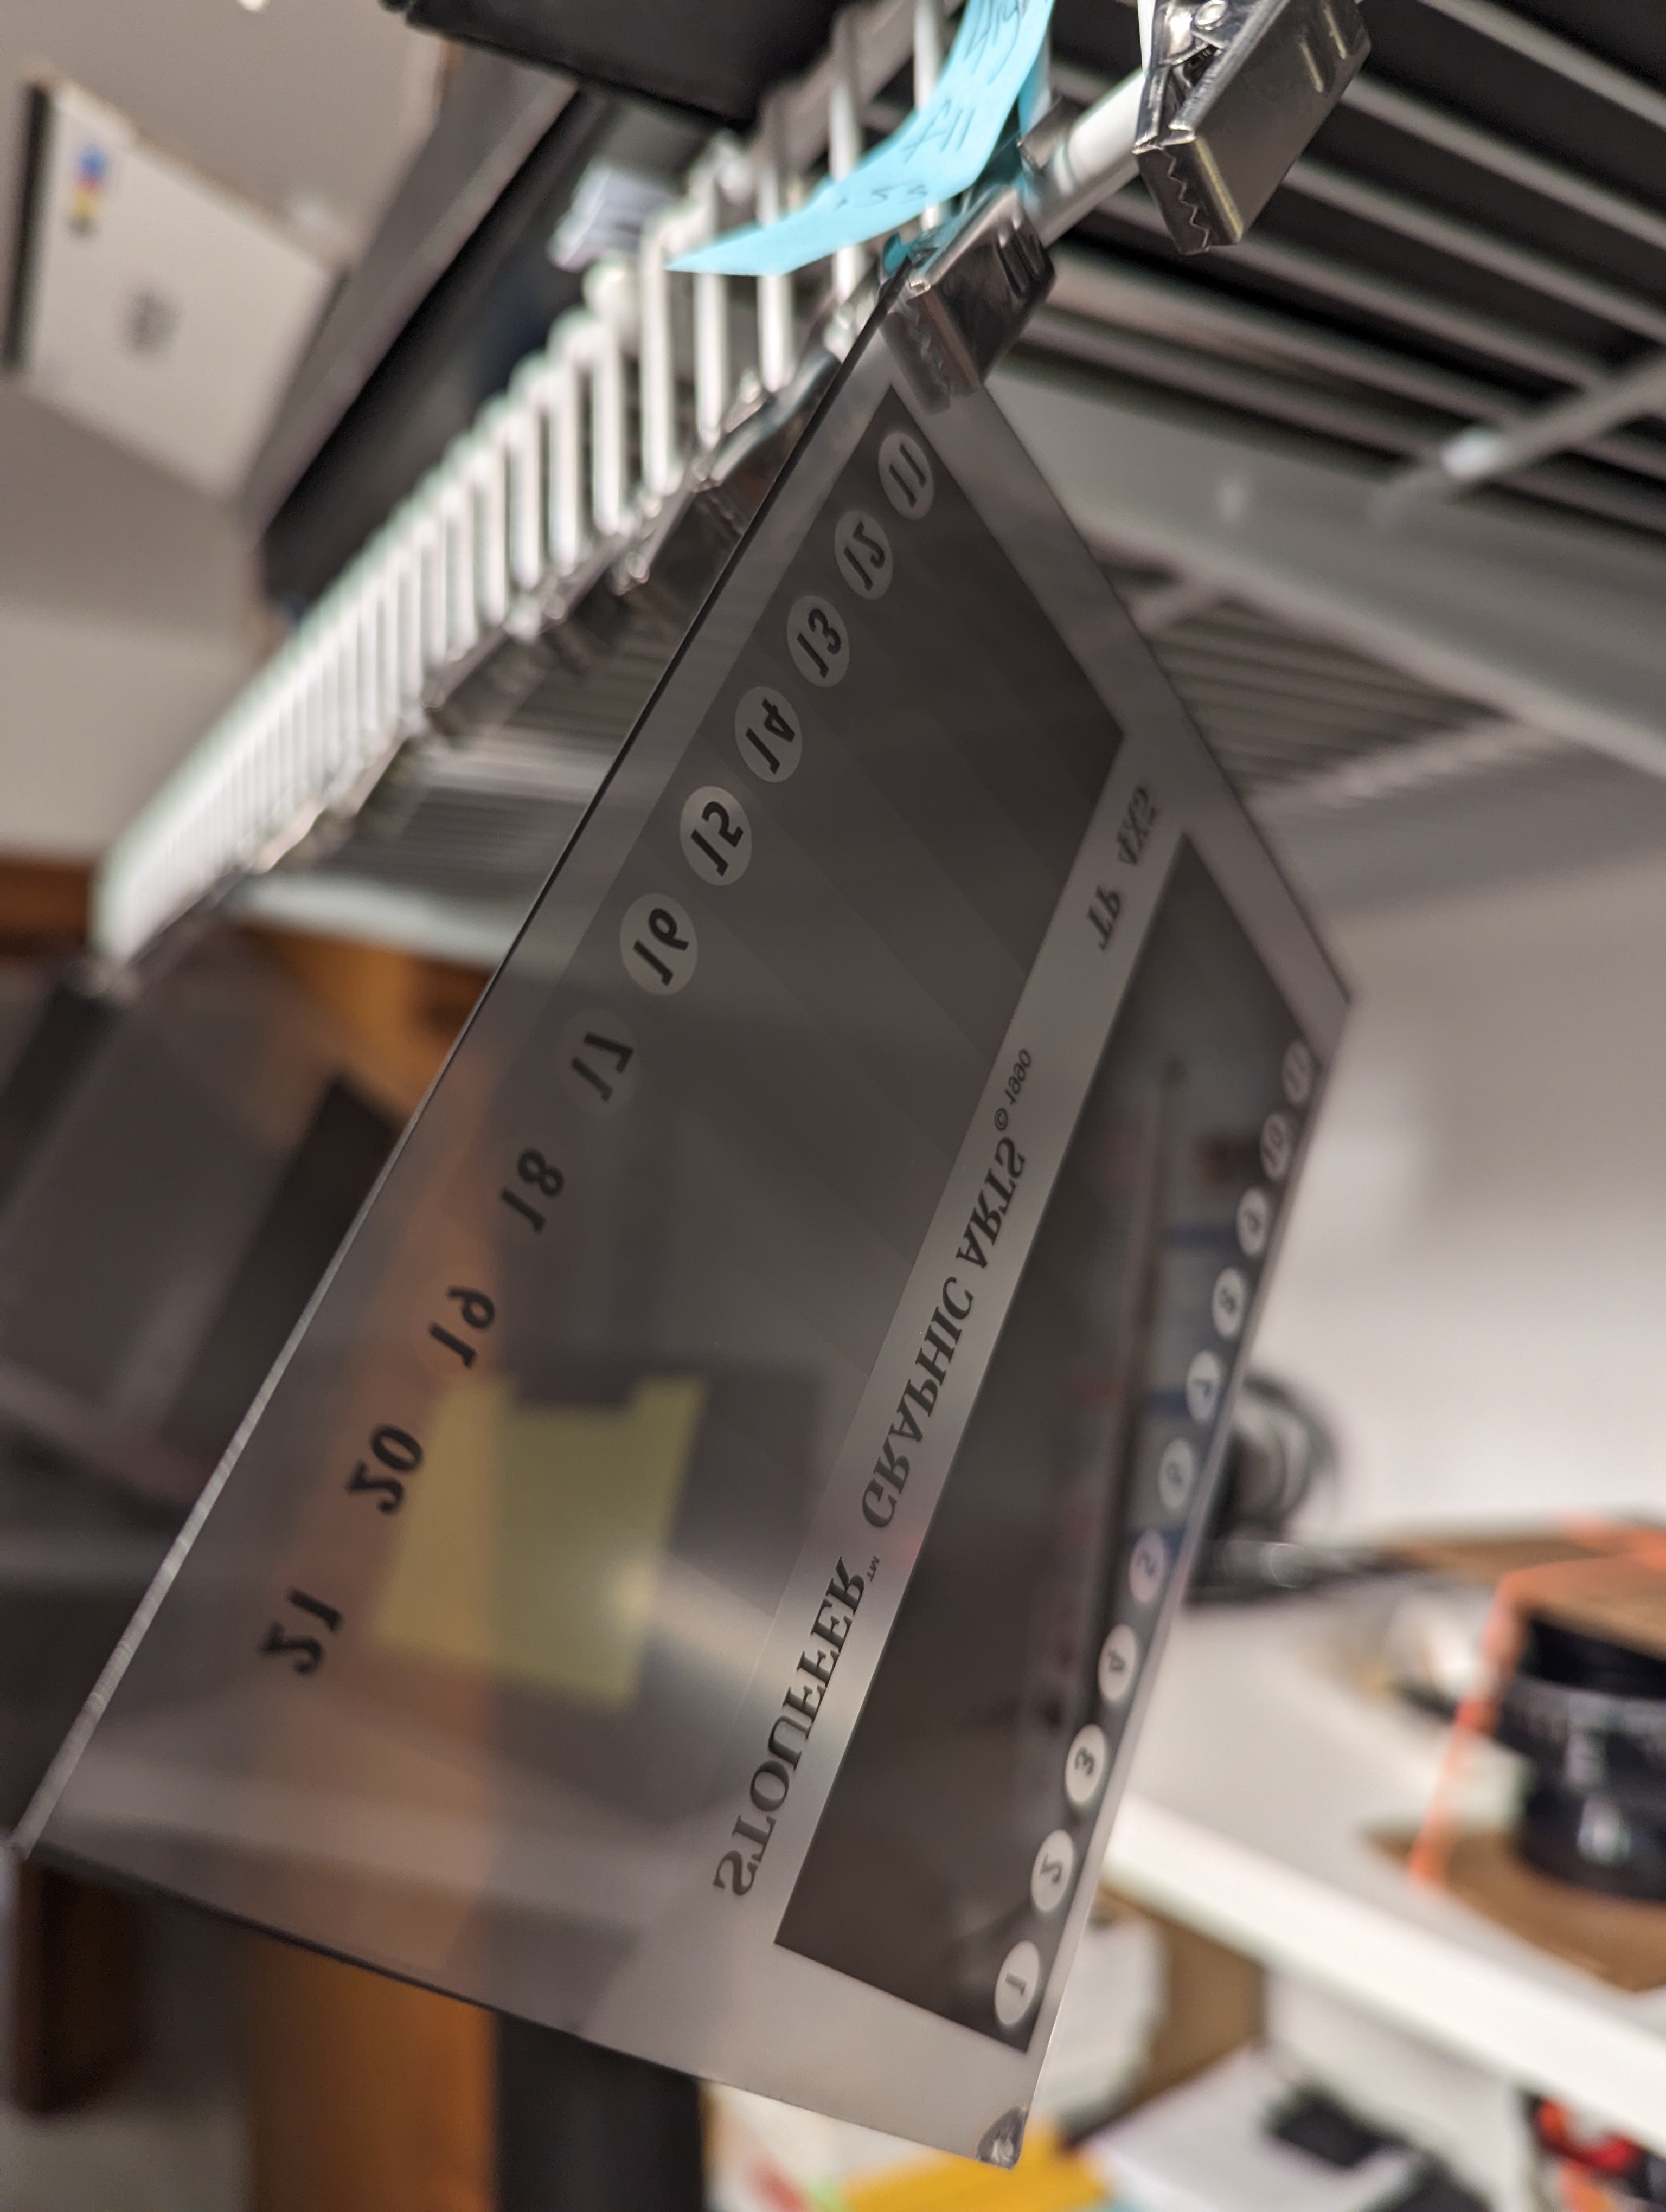
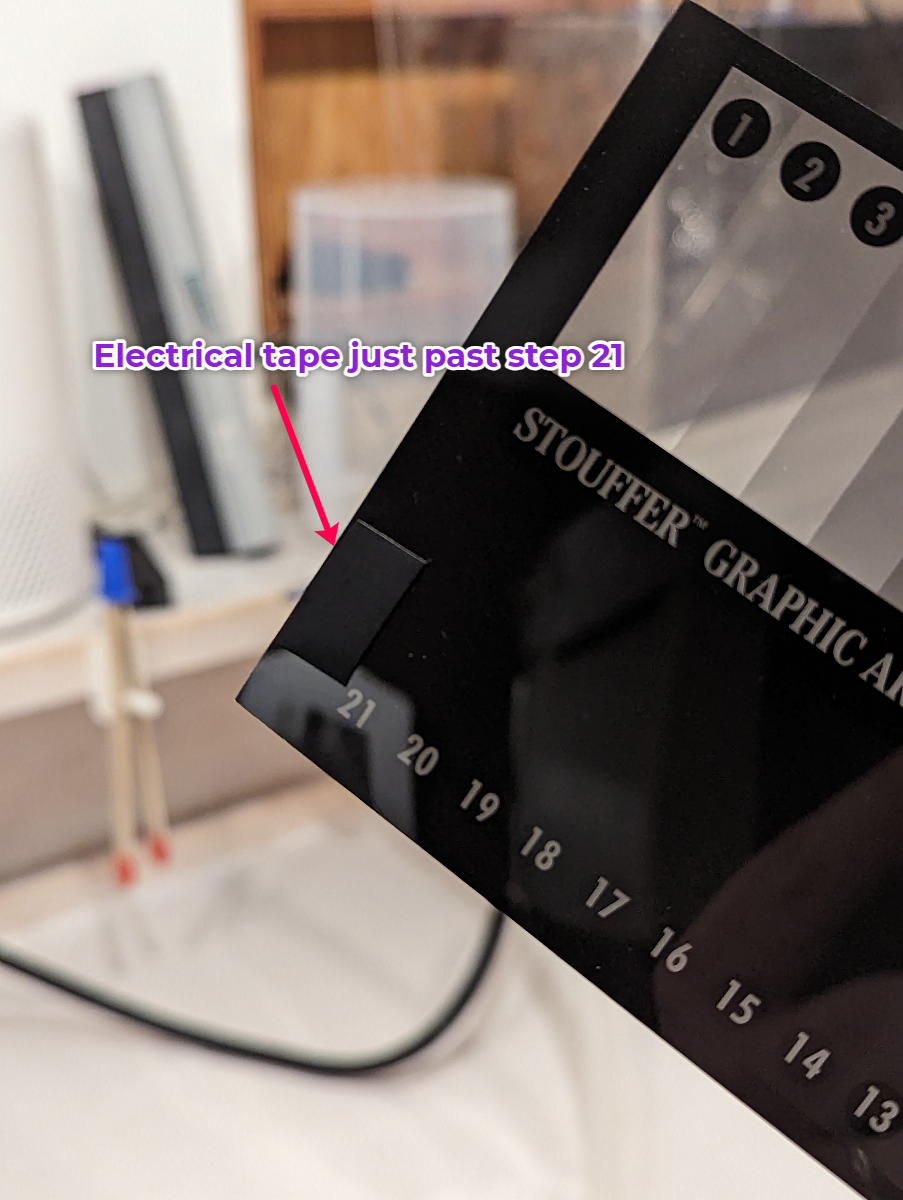 If your processing and exposure are consistent, you should end up with developing times for N, N+1, N+2, N+3, N-1, N-2. The N+3 times are estimates only; you typically need specific testing for anything more extreme than N+2 or N-2. Some emulsion will not give a true N+3 no matter how long you soak them. Having a perfectly clear area of film for discerning your film base plus fog measurement is critically important with respect to the accuracy of your data. I use a folded-over piece of aluminum foil or black electrical tape at the top of my Stouffer wedge. This gives a clear area of film to calculate film base plus fog and also a nice spot to feel for on the step wedge to know you have it emulsion side down.
If you need to know N development time to test your film for N, N+, and N-1 development times, where do you start? Well, I guess. I know what you are thinking: Guessing? Will, you are crazy. I am a photographer. Photographers don't guess, they meter and calculate. Well, .10 + film base and fog is a very low density. This means the film in this area has been sensitized by light just slightly. You can develop that area all day long and you won't get much more density. These areas on a negative of low exposure develop within the first 30-40% of development. This means that you can use the manufacturers' recommended times and temperatures (remember to reduce the time by ~25% if you are rotary processing) or make a general guess.
Calculating the exposure for the Stouffer wedge contact print is a little more difficult. Several things come into play: enlarger height, aperture, exposure time, focus, etc. I suggest starting at your 11x14 full-frame distance, focused, f11, for one second (Phil Davis recommends metering a white card to get an EV4 on the baseboard, not bad advice). Then make six different exposures around f11 in one-stop increments. Next, develop these six sheets for your N development time. You might need to repeat this process to hone your 21st step density. I suggest making smaller adjustments with the aperture instead of height or exposure time. Once you have your exposure set, it is relatively easy to adjust for different emulsions that have higher or lower speeds.
If you don't have a densitometer, you can still perform this test. You can use photo paper and your enlarger. It will most likely take more sheets of film and more time to find N plus and N minus times, but it is possible. Alex Bond has a good info page on how to test for film speed without a densitometer. See the link in the footer.
Good luck, make big prints. -=Will
